Difference between revisions of "CRM HOWTO"
| Line 60: | Line 60: | ||
== Adding an Account representing a Research Project == | == Adding an Account representing a Research Project == | ||
The details on how to insert an Account representing a Research Project are available in: | |||
* [[CRM Use Case Record Project Data|Record Projects Data]]. | |||
It is very important that, when you add a new project, the '''Account Type'''field is correctly set to | |||
* ''' ESFRI Project''', if it represent an ESFRI Research Project | |||
* ''' National Project''', if it represents a National Project | |||
*''' Other international''', if indeed it is not an ESFRI or National Project | |||
<br /> | |||
== Adding an Account representing a Research Institute == | == Adding an Account representing a Research Institute == | ||
Revision as of 21:37, 23 March 2012
Access and Login
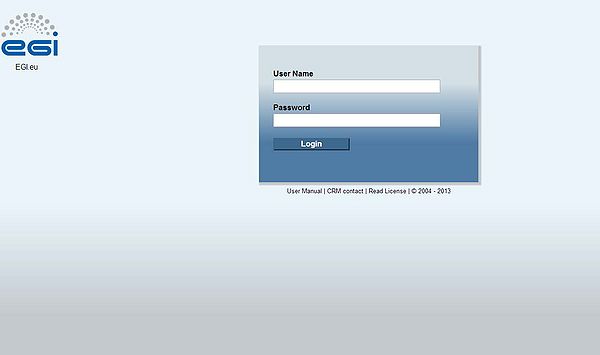
The authentication in EGI CRM is performed through EGI SSO which has been integrated in Vtiger authentication mechanisms. However, not all EGI users have access to the system, which is only available to NILs and EGI.eu members. If you are a NGI staff, and you need access to EGI CRM, you should contact your NIL. NILs can ask for the inclusion of other actors, forming a network of trust, by requesting the access through egicrm.helpdesk@lip.pt.
The EGI CRM can be accessed at http://crm.egi.eu by using EGI SSO credentials.
Main Options
Once logged-in, CRM users are redirected to the EGI CRM Home page. Currently it displays the main navigation toolbar (on the top) and a shortcut toolbar beneath.
The main navigation toolbar comprises the following EGI CRM functionalities / options:
- My Home. The user can define his / her own preferences regarding what info should be displayed.
- Data Management. This option enables creating, updating and browsing the information about accounts and contact details, as well as accessing the information about activities.
- Activity Management. This option enables managing project, project tasks, and milestones.
- Support. This option enables the access to support documentation and FAQs.
- Analytics. Through this option the user can access to reports, following predefined templates and dashboards.
- Tools. This option provides with additional tools to the user.
Accounts
Accounts is the Vtiger body used to represent entities which are being (or should be contacted). Pragmatically, Accounts are used to:
- store information about research projects that are being executed (in Europe or at national level)
- store information about the research institutions that are participating in research projects.
Browsing Accounts
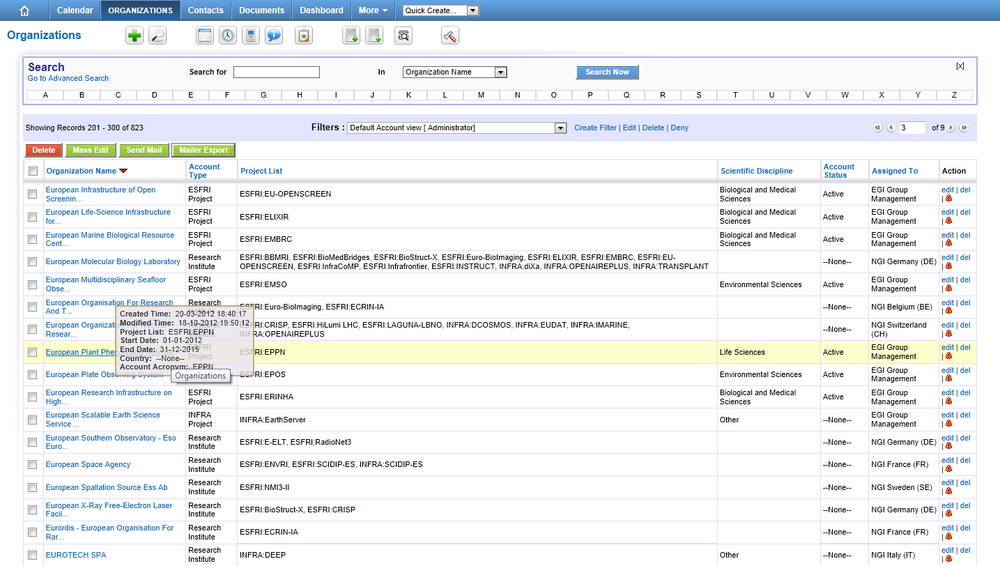
The Data Management option in the main navigation toolbar enables creating or viewing the details of Accounts. Once you choose the Accounts option, the system presents a list of all Accounts available in the system. Through this list, the user can:
- Navigate through all accounts with an Account Name starting by a given character
- Ordenate all accounts by alphabetic order by clicking on the Account Name string (table top column)
- Have a preview of the information stored under a given account by going with the mouse pointer on top of the Account Name of a given account
- See the details of a given account by clicking on the name of the account
Filtering and Searching Accounts
While browsing accounts, it is also possible to
- Select one of the predefined search filters to restrict the subset of data displayed in the list
- Search a given account by Account Name, Accout Type, Project List, Scientific Discipline, Status or Assigned To
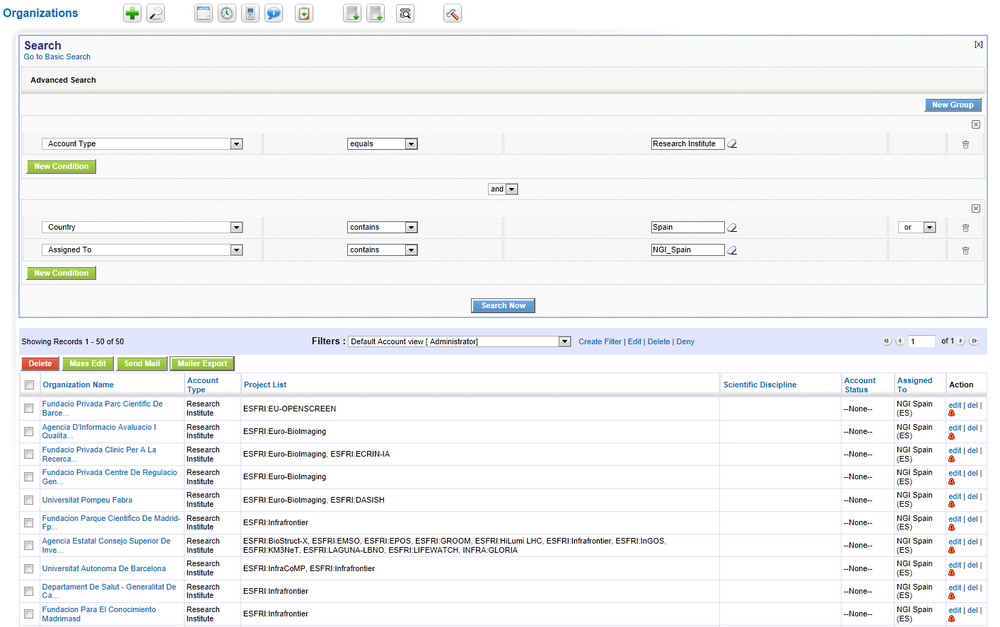
- Refine your search using the Advanced Search functionality
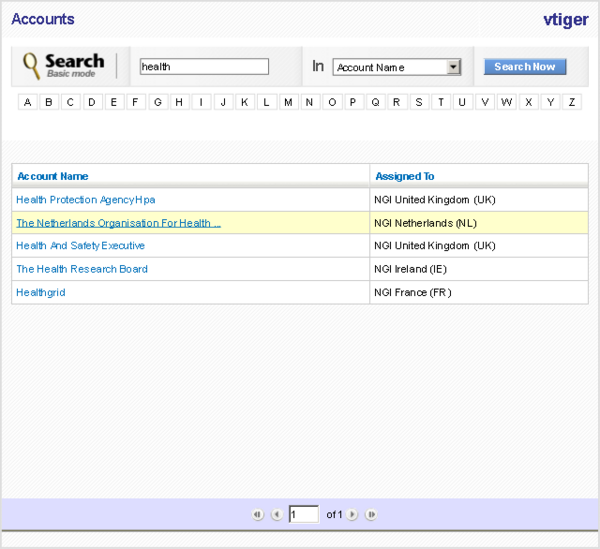
The following example shows how a user could use the Advanced Search functionality to search all the research institutes hosted in a given Country or Assigned to a given NGI
Adding an Account representing a Research Project
The details on how to insert an Account representing a Research Project are available in:
It is very important that, when you add a new project, the Account Typefield is correctly set to
- ESFRI Project, if it represent an ESFRI Research Project
- National Project, if it represents a National Project
- Other international, if indeed it is not an ESFRI or National Project
Adding an Account representing a Research Institute
Adding a new contact
Contacts represent persons from institutions (either NILs' entities or representative persons of actual or potential user groups) who will interact. There are two equivalent ways of adding new Contact: Searching for the institution of the contact and then adding a new contact, or adding a new contact and then linking it to the institution. IMPORTANT: if institution does not exist in CRM, you must add institution at first and only after add a new contact. Please refer to sections Adding a new institution and Adding a new project for further instructions and recommendations.
Option 1: First find institution and then add contact
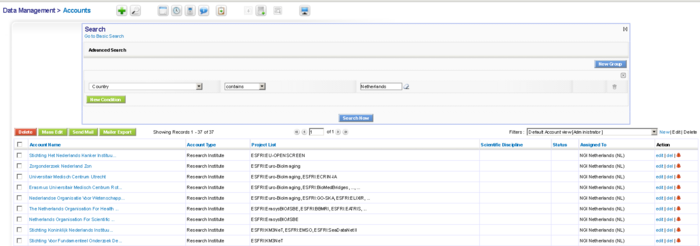
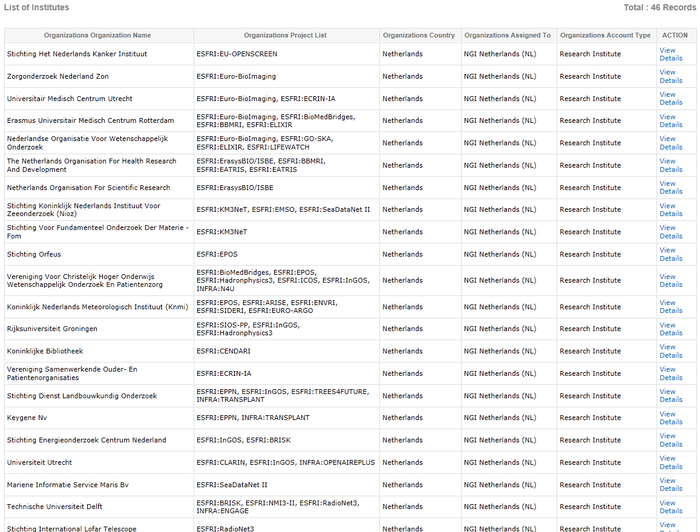
To search for an institution, there are again two possibilities: Listing all Institutes in CRM for a specific Country (see example for the Netherlands) or searching by institution name in the CRM for a specific country (see example).
Second step is to add a contact for the institution selected. To do so, you should choose Contacts from the institute profile and then blue button Add Contact, as shown in the figure.
Finally, you should fill in the details for the new contact.
Option 2: Adding a contact and then searching for the institution of the contact to be linked
A contact can be created directly through the Data Management / Contacts option by clicking in the ![]() button.
button.
Once all the fields have been completed, the institution can be added by clicking in the ![]() button next to the field Account Name. Next two figures show this process.
Search for institution and select by pressing "green plus" next to field "*Account Name"
button next to the field Account Name. Next two figures show this process.
Search for institution and select by pressing "green plus" next to field "*Account Name"
Adding a new institution
Adding new institution
IMPORTANT: if ESFRI Project or National Project in which institution participates is not listed in "Project List" field, you must add ESFRI or National Project at first and only after add a new institution and choose the projects from the Project List field. Also you must choose "Account Type" to be "Research Institute"
"Data Management" -> "Accounts" -> "green plus"
Adding a new project
Adding a new project
IMPORTANT: if you adding ESFRI project, field "Account Type" must be set to "ESFRI Project", if National, then "National Project"
"Data Management" -> "Accounts" -> "green plus"
CRM Calendar
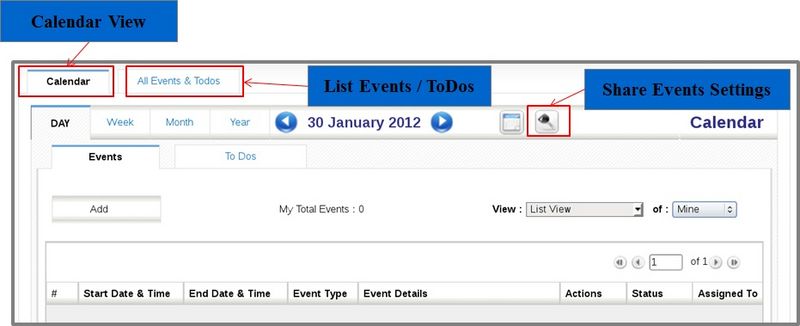
The calendar tool enables the automatization of tasks through reminders and the sharing of events and planned actions that could be of interest for the community. Through the calendar is possible to add tasks (ToDos) or Events (calls or meetings) and associate such activities with contacts and accounts. The calendar view enables programming recurring events, searching events and editing customized calendar settings.
Creating Reports and Analytics
Creating custom reports
1) List of institutes without the contacts
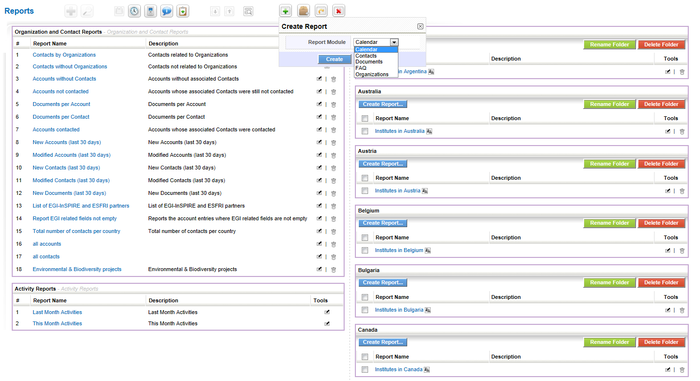
"Analytics" -> "Reports" -> "green plus" -> "Contacts"
New window with a Wizard will be opened. Important steps are:
- Step 2) Related Module (choose "Contacts" or "Accounts" - there is no difference)
- Step 4) Selected Columns (choose the columns you want to see in the report)
IMPORTANT: "Project List" column under Accounts section is definitely what you want to see in the report output, because it will let you identify the projects, institutions participate in
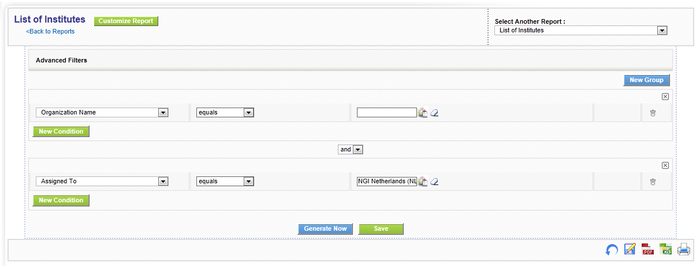
- Step 7) Filters (add conditions)
In our case we are building report "List of Institutes in The Netherlands without the contacts"
- First condition is: "Account Name" field (under Contacts section) equals to a blank field.
- Second condition is: "Assigned To" field (under Accounts section) equals to a value "NGI Netherlands (NL)"
Report output
IMPORTANT: if institute participates in more then one project, the list of projects is split by "|##|"
2) List of institutes with the contacts
The report building how to is the same as previous just first condition above now is opposite: "Account Name" field (under Contacts section) not equals to a blank field.
3) List of contacts i never contacted
Additional Options
CRM_Support_tools
A list of FAQs can be accessed through the option Support / FAQ, which also can be consulted at the wiki page CRM_FAQ. Additional comments or questions can be sent to the egicrm.helpdesk@lip.pt and if they are of global interest, they will be published in this section.
Tools
TBC: Documents
