Difference between revisions of "MyProxy tool GUI"
| Line 62: | Line 62: | ||
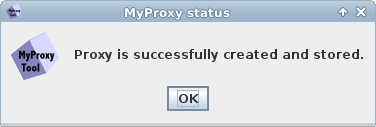
''Click [OK]'' | ''Click [OK]'' | ||
[[File:Myproxytool11.png|none|thumb|800px]] | [[File:Myproxytool11.png|none|thumb|800px]] | ||
''Now you can proceed to a [[Globus_Online_cookbook_for_EGI_VOs#VO_Members | next step, click here.]]'' | |||
Revision as of 15:57, 12 July 2013
About
Graphical User Interface for MyProxy Tool is provided by GSISSH-Term application registered at EGI AppDB.
For more information about additional functionality like - terminal, remote desktop visualization provided by GSISSH-Term, please refer to: https://www.lrz.de/services/compute/grid_en/software_en/gsisshterm_en/
GSI-SSHTerm is a tool supported by EGCF (www.egcf.eu).
Using MyProxy Tool GUI
1. Launching the GSISSH-Term with Java Webstart:
To launch GSISSH-Term (at least Java Runtime Environment 1.5 is required): Launch GSISSH-Term
Oracle JRE is recommended since openJDK breaks the Java webstart functionality.
2. First time GSISSH-Term. Add your VO to favourites.
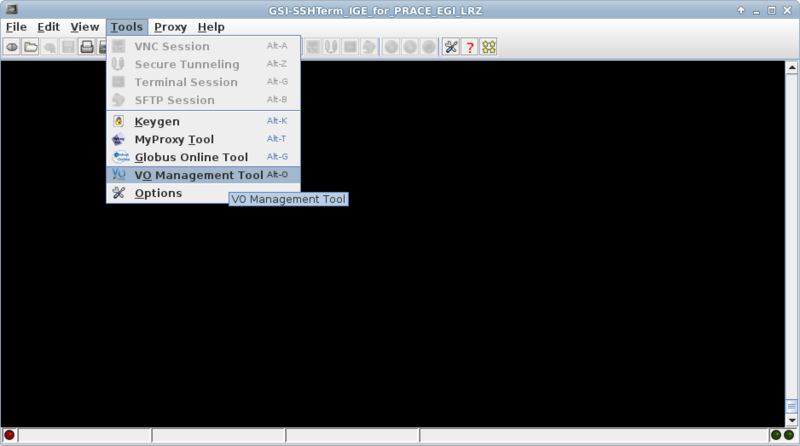
Go to Tools > VO Management Tool
Click [OK]
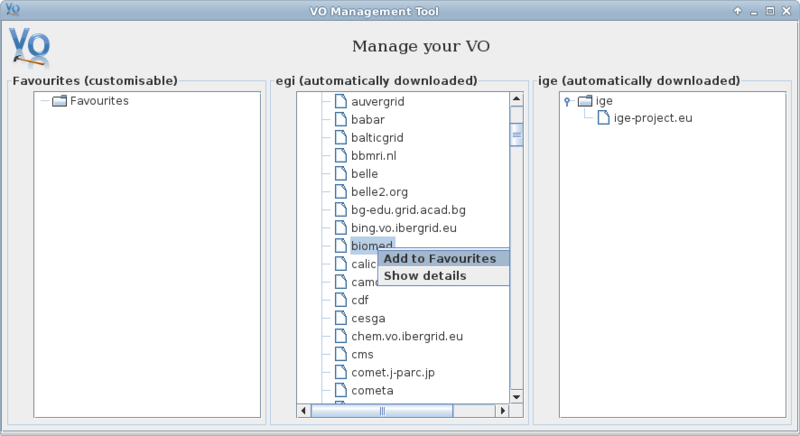
Right-mouse click on your VO and choose "Add to favourites"
3. Launch MyProxy Tool.
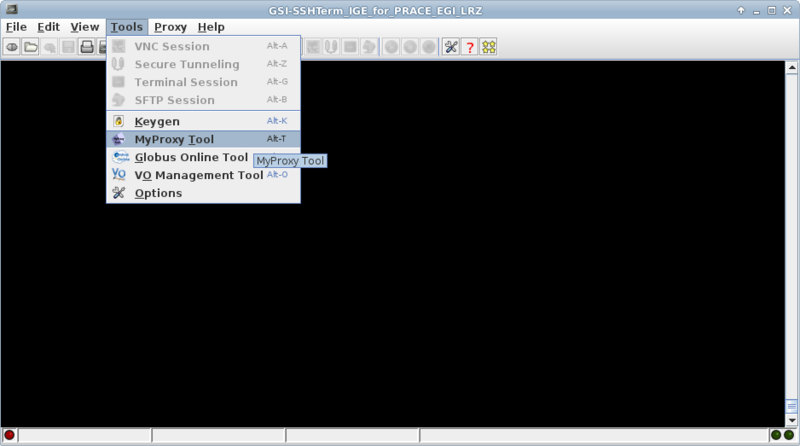
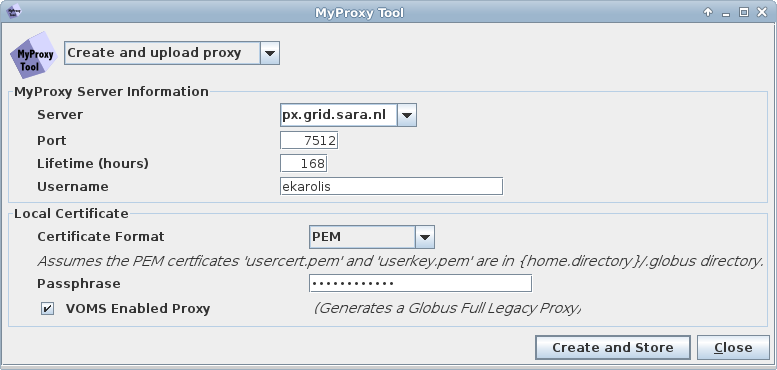
Go to Tools > MyProxy Tool
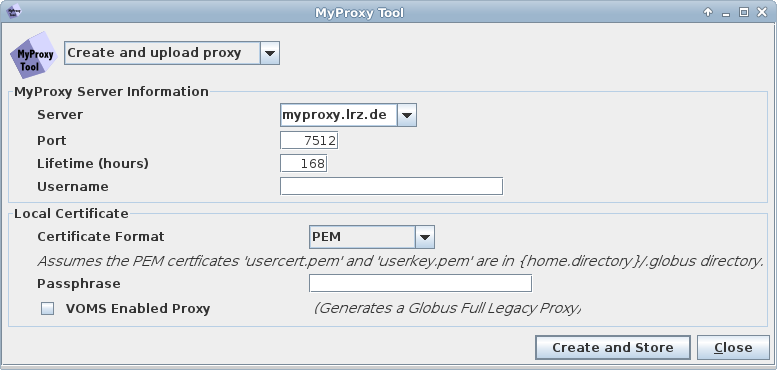
This is the default Myproxy server information
Overwrite MyProxy server name with the one you would like to use, in our example we will use: px.grid.sara.nl Note: If you would like to use EGI catch-all myproxy server with EGI SSO, please enter myproxy.egi.eu
Choose any username you would like, in our example i choose: ekarolis Note: If you would like to use EGI catch-all myproxy server with EGI SSO, please enter your EGI SSO username
Enter the passphrase of your grid proxy certificate
Tick the box for "VOMS Enabled Proxy"
Click button "Create and Store"
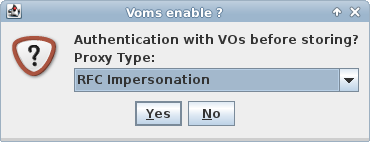
Click [Yes]
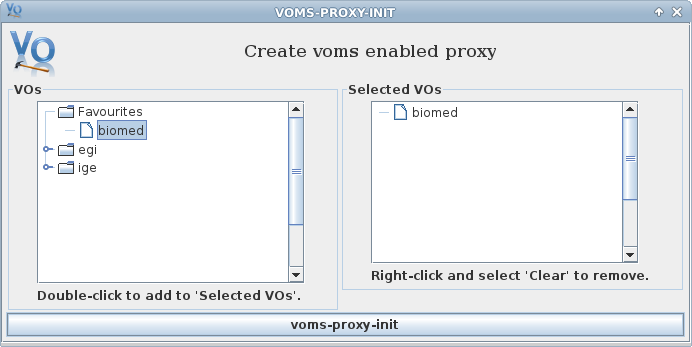
Select your VO from favourites list Click button "voms-proxy-init
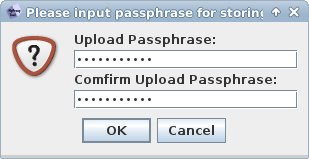
Click [OK]
Choose the password you want, it will be used together with a username you entered for MyProxy server
Click [OK]
Now you can proceed to a next step, click here.
